


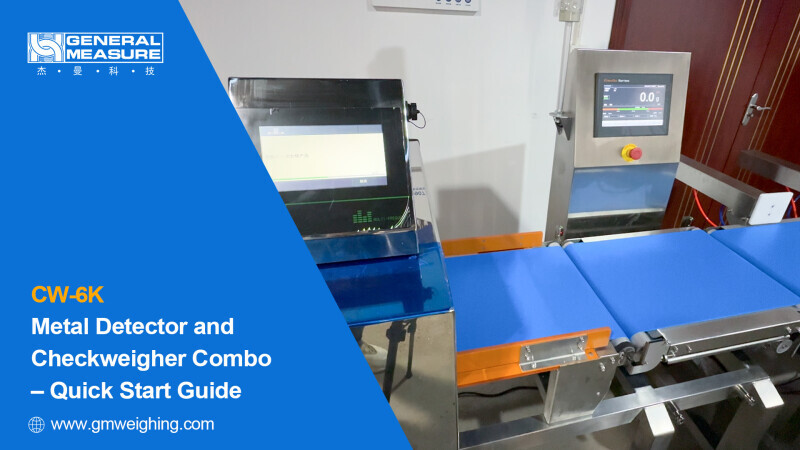
General Measure Technology Co. Ltd. (China) - Press Release: CW-6K Metal Detector and Checkweigher Combo – Quick Start Guide
Hello everyone! Welcome to General Measure's Channel. In this video, we’ll walk you through the quick operation steps of General Measure’s Metal Detector and Checkweigher Combo Machine – CW-6K.
Step 1: Leveling the Scale
Before starting, adjust the leveling feet of the scale.
Place a spirit level on the weighing platform. Adjust the height of the feet according to the bubble position of the spirit level to make sure the weighing platform is level.
Step 2: Static Calibration
This step involves weight parameter configuration and weight calibration.
2.1 Weight Parameters
Log in as a user by clicking Settings. On the login screen, select Engineer level and enter password 000. Click Login, then go to the page - System Settings. Configure parameters such as weight unit, decimal point, division, and weighing range.
Users can adjust them according to application requirements.
2.2 Weight Calibration
After setting the weight parameters, clicking Static Calibration.
- Zero Calibration
Ensure that there is nothing on the weighing conveyor.
Once the millivolt reading is stable, click Zero Calibration.
If the display shows “0,” zero calibration is complete. - Weight Calibration
Place a standard weight in the center of the weighing platform.
After the voltage stabilizes, input the weight value, then click Calibrate.
If the displayed weight matches the entered value, the calibration is successful.
Click Exit to return to the main interface.
Step 3: Product Parameter Settings
In real applications with multiple products to check, formula settings improve on-site efficiency. CW-6K supports up to 100 product formulas, each stored independently and easy to switch.
3.1 Add Product
From the main screen, tap Product. Click Add Product to register a new product.
3.2 Set Parameters
Click Product Parameters and input: Product Name (e.g., rice); Upper Limit (e.g., +3g); Lower Limit (e.g., -3g); Checkweighing Speed (e.g., 80). Users can set them according to application needs.
Step 4: Dynamic Calibration
Tap Dynamic Calibration, and clear the platform, then tap Tare .
Place the test product in the center and tap Get Weight.
Click Start, and pass the same product from the infeed belt 10 times for self-learning.
After learning, return to the main screen.
The above is the calibration of the checkweigher and the operation of setting product parameters.
Step 5: Metal Detector Settings
5.1 Add Product
On the metal detector main interface, tap Add Product, and fill in the following:
(Fill in the information based on the actual product)
Product Name: e.g., rice
Product Length: e.g., 280 mm
Product Type: e.g., Dry Product
Choose from:
Dry, Wet, Hight Wet, Wet & Salty, Aluminum Film Package
Detection Type: e.g., Packaging Detection
Choose from: Bulk, Package, Dexidizer;
Click Confirm to begin product learning.
5.2 Product Learning
Start the checkweigher to run the conveyor belt. Follow on-screen instructions to conduct two passes of good product learning.
Once complete, tap Confirm to proceed.
5.3 Handling NG (Non-Conforming) Products
The screen now displays:
Product ID
Product Name
Learning Duration
Reject Method
Buzzer Time
Hold Time
Delay Time
We only need to modify Reject Method and Delay Time.
There are 6 manage ways for NG products:
- Sound & Light Alarm: Red light and buzzer
- Alarm & Stop: Stop conveyor
- Reject Product: Output signal to rejector
- Stop & Reverse: Sends product back to infeed
- Precision Reject: For packaged products using sensor-triggered delay
- Gantry Reject: Single stroke motion to reject product
Here we select: Reject Product.
Delay Time: Time between detection and reject signal output is set to 10 ms.
Click Confirm to proceed.
5.4 Learning Result
This screen displays the learning results. Click Close to return to the main screen.
Step 6: Rejector Setup and Testing
On the checkweigher main screen, tap Settings, then IO Test. Check corresponding output relays. Relay-K3 is metal detection rejection. Relay4 is weight check rejection.
If the rejection is delayed or inaccurate, go to the Product Parameters screen and adjust: NG Reject Distance and Metal Detect Reject Distance.
Note: Metal detection has higher priority than weight detection.
In the demonstration:
Insert a Fe 2.5 mm test block in the product and pass it through.
The metal detector alarms and rejects the product.
Then pass the product with an unqualified weight.
Metal detection passes, but weight detection alarms, and the product is rejected.
Once all the above steps are completed, your CW-6K Metal Detector and Checkweigher Combo is ready for operation!
Watch the video.


Interested? Submit your enquiry using the form below:
Only available for registered users. Sign In to your account or register here.